

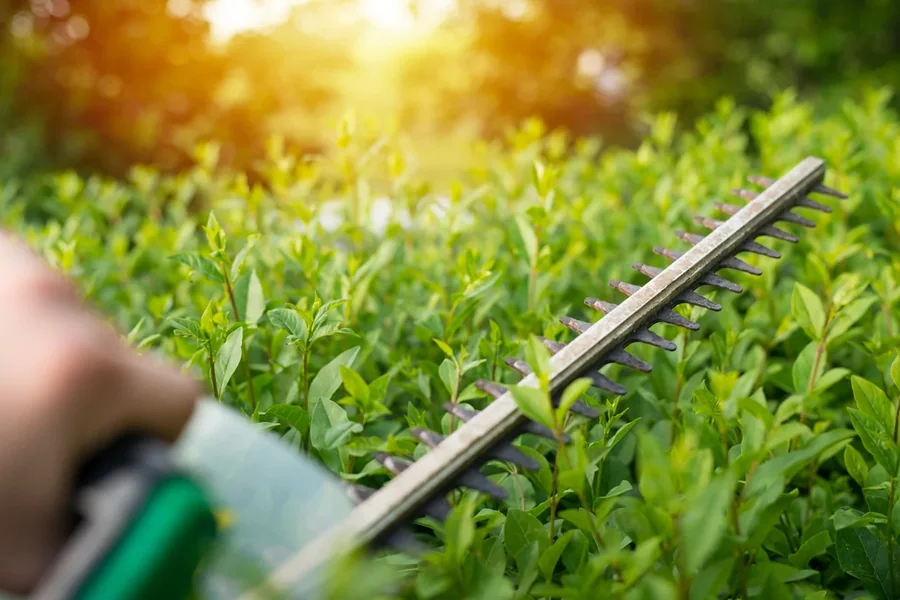
A neatly shaped hedge can transform a landscape, but the job is not finished when the last branch is cut. A powered hedge cutter can leave hundreds of small stems and leaves scattered across lawns, paths, planting beds, driveways, and patios. If those clippings are handled poorly, cleanup can take nearly as long as trimming.
The most efficient approach is to treat cleanup as part of the trimming process rather than an afterthought. Where the clippings land, how dry they are, and what surface they cover all determine the best collection method.
Why Hedge Clipping Cleanup Deserves More Attention
Hedge debris is deceptively difficult to manage. Fine leaves can settle into turf, while woody pieces can become lodged between pavers or underneath shrubs. A large hedge may also produce a surprising volume of material in a relatively short trimming session.
There is a practical reason to clean carefully. OSHA identifies slips, trips, falls, cuts, eye injuries, and other hazards among the concerns associated with landscape maintenance, while recommending good housekeeping practices in work areas. (OSHA)
For homeowners, that means the cleanup phase is not simply about appearance. It also restores safe walking surfaces and prevents loose debris from interfering with subsequent lawn or garden work.
Start by Controlling Where Clippings Fall
The easiest clipping to collect is the clipping that lands where you intended.
Before trimming, examine the hedge’s surroundings. If possible, place a tarp, collection sheet, or similar barrier beneath sections of the hedge. This works particularly well along paved walkways and lawns where gathering small pieces individually would be tedious.
Work in manageable sections rather than trimming the entire hedge at once. After each section, collect the material before moving farther down the hedge.
This creates a simple cycle:
- Trim one section.
- Let the cut material settle.
- Gather the larger branches and leaves.
- Rake or blow remaining fragments.
- Move to the next section.
The approach is especially useful for long property boundaries where scattered clippings can otherwise become difficult to track.
Use Different Cleanup Methods for Different Surfaces
There is no single best tool for every cleanup situation. The surface underneath the hedge should determine how you collect the debris.
Lawns: Rake Before You Blow
On grass, a lightweight fan rake can pull together both leaves and small woody pieces without aggressively disturbing the turf. For larger lawns, a blower can finish the job after the bulk of the material has been gathered.
Avoid blasting heavy piles repeatedly across the lawn. Concentrating debris first makes collection faster and reduces the chance of simply moving the mess from one area to another.
Interestingly, not every type of plant material needs to leave the landscape. Grass clippings, for example, can often remain on lawns when mowing is done correctly; University of Minnesota Extension notes that decomposing grass clippings can contribute nutrients and improve soil quality. (University of Minnesota Extension)
Hedge clippings are different, however. Woody stems and larger leaves generally make more sense as collected yard waste or compost material, depending on the plant and local guidance.
Paths and Patios: Clear Every Joint and Edge
Hard surfaces require more attention than they initially appear to.
Start by collecting larger stems by hand or with a rake. Then sweep smaller leaves away from the walking surface. Pay particular attention to expansion joints, drainage channels, paver gaps, steps, and the narrow strip where the path meets the hedge.
A blower can be useful for the final pass, but direct the airflow toward a predetermined collection area. Otherwise, the debris may simply migrate onto the lawn or into a neighboring planting bed.
Handle Garden Beds More Carefully
Garden beds are where aggressive cleanup can cause unintended damage.
A blower set too high can disturb loose mulch, move soil, or scatter small pieces of bark. A rake can also catch delicate groundcover or shallow-rooted plants.
For beds, start with larger clippings by hand. Use a soft rake only where the plants can tolerate it, and reserve blowing for exposed areas with established mulch or firm soil.
The objective is not to make every square inch completely bare. It is to remove excessive woody debris while leaving the structure of the bed intact.
Decide Whether to Bag, Compost, or Reuse the Clippings
Once the material has been gathered, sort it rather than automatically putting everything into a yard-waste bag.
Fresh, relatively small hedge trimmings can sometimes be composted if the plant material is appropriate and your local composting guidance allows it. Larger woody stems may require separate handling.
A useful rule is to separate:
- Fine leaves and soft green growth
- Small woody stems
- Thick branches
- Material from diseased or pest-infested plants
- Foreign debris mixed into the pile
Diseased plant material deserves particular caution. Do not assume that everything removed from the garden belongs in a home compost pile.
Local municipal requirements also vary, so check the rules for green-waste collection before placing large quantities at the curb.
A Better Decision: Rake, Blow, or Collect by Hand?
Choosing the right cleanup method can save substantial time.
Use a rake when:
- Clippings are concentrated on grass
- You need to gather a defined pile
- The debris is moderately heavy
- You want precise control near planting areas
Use a blower when:
- Fine leaves are spread across hard surfaces
- You need to clear narrow edges
- The debris is already loosely distributed
- The final cleanup pass needs to be quick
Collect by hand when:
- Large branches are mixed with delicate plants
- Clippings are trapped inside shrubs
- The area contains valuable groundcover
- You are working around decorative objects or irrigation components
Experienced landscapers rarely rely on one method exclusively. The fastest cleanup usually combines collection, raking, and controlled blowing.
Clean the Hedge Cutter Before Putting It Away
The hedge itself is not the only thing that needs cleaning.
After the debris is collected, inspect the tool according to the manufacturer’s instructions. Remove accumulated plant material from accessible areas and check for obvious damage before storage.
Always follow the manufacturer’s safety procedure before handling the cutting assembly. OSHA and the National Association of Landscape Professionals have specifically published guidance covering mower and hedge-trimmer safety practices. (OSHA)
Do not use your hands to clear material from moving or potentially energized components. Disconnect the power source as required by the equipment design and owner’s manual before performing maintenance.
Avoid These Common Cleanup Mistakes
Several habits make hedge cleanup slower or create unnecessary problems.
Waiting until the entire hedge is finished:
Clippings become spread over a much larger area and are harder to collect.
Blowing everything in one direction:
This often creates a second cleanup problem instead of solving the first.
Ignoring the lawn edge:
Small leaves frequently accumulate where turf meets pavement, creating a visible unfinished line.
Raking aggressively through planting beds:
The rake can disturb mulch, plants, irrigation lines, or shallow roots.
Leaving woody debris on walking surfaces:
Small stems can be slippery or uncomfortable underfoot and can make paths look unfinished.
Skipping the final inspection:
A few minutes spent checking steps, drains, gates, and corners can prevent overlooked debris from becoming tomorrow’s problem.
Build a Repeatable Post-Trimming Routine
For regular hedge maintenance, consistency matters more than speed.
Use the same sequence each time: inspect the area, trim a manageable section, collect larger debris, rake or blow the remaining material, sort the waste, and inspect the finished area.
For larger properties, it can help to establish a designated collection point before work begins. That prevents repeated trips across the property with small piles of clippings.
The best cleanup routine should leave three things behind: a shaped hedge, an unobstructed landscape, and equipment ready for its next use.
FAQ About Hedge Cutter Cleanup
Should hedge clippings be left on the lawn?
Small amounts of fine plant material may be manageable, but larger woody hedge clippings should generally be collected. They can interfere with mowing and create an untidy surface.
Is a blower or rake better for hedge cleanup?
Neither is universally better. A rake provides greater control when gathering material on lawns and around beds, while a blower is useful for fine debris on paths and other hard surfaces.
Can hedge trimmings go into compost?
Some clean plant trimmings can be composted, but suitability depends on the plant material, its condition, and local composting guidance. Diseased or pest-infested material may require different disposal.
How often should hedge clippings be removed?
Ideally, collect them during or immediately after each trimming session. Delaying cleanup makes debris easier to scatter and harder to separate from surrounding vegetation.
A Clean Finish Is Part of Good Trimming
Good hedge maintenance is not measured solely by straight lines and even growth. The finished landscape matters too.
By controlling where clippings fall, matching cleanup methods to each surface, protecting planting beds, and inspecting the area before leaving, homeowners can turn a messy final step into a predictable part of routine maintenance.
That small change in workflow makes hedge trimming more efficient—and leaves the property looking intentionally maintained rather than simply cut.
High-authority references used: OSHA’s landscaping safety resources support the housekeeping and equipment-safety guidance, while University of Minnesota Extension provides useful context on handling lawn clippings. (OSHA)
If you’d like, I can also adapt this into a more editorial publication style with fewer instructional sections and more narrative flow while keeping the same SEO requirements.
Here’s a publication-ready version with fuller subheadings, a practical cleanup framework, and two high-authority non-competing references.